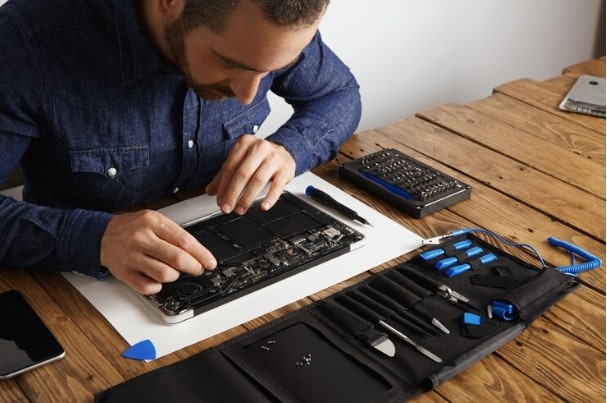
Is your iPad camera broken? Are you worried that getting it repaired may cost a lot? Don’t worry; we have got you covered. In this guide on how to fix your broken iPad camera, we will explain every step in detail.
According to the experts in iPad repair, in order to fix a broken iPad camera, you should start by assessing the damage. Check for visible cracks, loose connections, or a scratched lens. Back up your data to be safe. Gather necessary tools, including screwdrivers and a replacement camera module if needed. Carefully disassemble the iPad, inspect the camera module, and replace it if damaged. After this, reassemble the iPad, test the camera, and restore your data. Clean the iPad, and you’re good to go! If you’re unsure, consider seeking professional help or guidance from experts in iPad repair.
Steps to Fix Your Broken iPad Camera
Step 1: Check What’s Broken
First, let’s play detective and figure out what’s up with your camera. Take a good look – any cracks, scratches, or loose bits? Is the lens looking rough? Are there any problems with the camera or its connections? This quick check helps you see what’s going on.
Step 2: Save Your Stuff
Safety first! Before we dive into repairs, back up your stuff. Use cloud storage or your computer to save your photos, videos, and important files. You never know when things might get crazy, so this is like a safety net.
Step 3: Tools of the Trade
Time to be a tech wizard! You’ll need a few tools:
- A trusty screwdriver set.
- Some plastic opening tools (spudgers).
- Tweezers.
- A new camera module (if needed).
- A microfiber cloth to keep things tidy.
- Good lighting to see what you’re doing.
Step 4: Take Things Apart
Don’t stress; we’re taking it step by step. Here’s the plan:
- Turn off your iPad and remove any covers.
- Use the plastic tools to open your iPad’s casing gently. Start from the edges and work your way around. Go slow to avoid making things worse.
- Keep those screws organized – a magnetic mat or labels will help.
- Once you’re inside, find the camera module and its connectors.
- Carefully unhook the camera module from the motherboard.
- If the camera is part of the motherboard, you might need a new one.
Step 5: Inspect and Replace
Hold up the camera module and give it a good look. Any cracks or loose cables? If you see problems, you’ll want to swap out the camera module.
Step 6: Test the Camera
With the new or reconnected camera, it’s showtime. Turn on your iPad, open the camera app, and see if everything’s back to normal. Take a few test pics and videos to be sure.
Step 7: Put It All Back
If the camera is working well, put your iPad back together. Make sure everything lines up and the screws are snug but not crazy tight.
Step 8: Restore Your Stuff
Now that you’re all fixed up, it’s time to get your stuff back. Transfer your saved files and settings – it’s like welcoming your iPad home again.
Step 9: Cleanup Time
After all that action, your iPad might be a bit grubby. Use your microfiber cloth to give the screen and iPad a gentle cleaning. Your iPad will be looking fresh in no time!
Seek Professional Help From Fix My Gadget
In case you are not confident enough to fix the broken iPad camera yourself, seek professional assistance from the experts at Fix My Gadget. They have a team of expert technicians; you can fix all your iPad-related problems effectively.
In the End
Congratulations! You just pulled off some tech magic with the help of our DIY guide on how to fix a broken iPad camera. You saved money, learned a cool skill, and you’re ready to capture those fantastic moments again.
Frequently asked questions
Q1. How do I Fix my Camera Failed?
To fix a “Camera Failed” error, try clearing the camera app’s cache and data or restart your device. If the issue persists, consider updating the app or checking for software updates.
Q2. How can I make my iPad camera better?
To improve your iPad’s camera quality, keep the lens clean, ensure good lighting, and use third-party camera apps with advanced features. Experiment with different shooting angles and settings for better results.
Q3. How Do You Fix a Blurry iPad?
To fix a blurry iPad camera, clean the lens, ensure a stable grip, and tap the screen to focus. Adjust camera settings for better clarity, and consider using a tripod for more stable shots.


